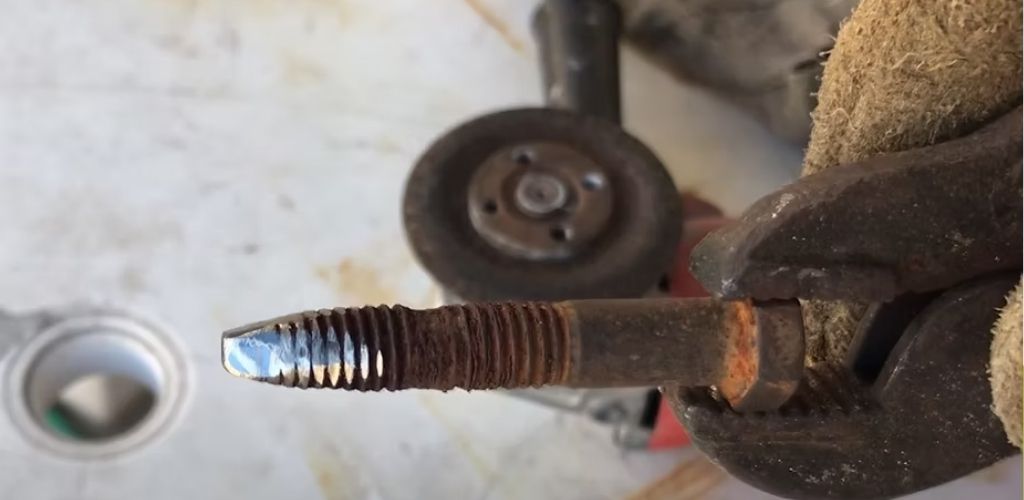
Materials you may need:
- Adjustable wrench or spanner.
- Locking pliers or gripping pliers.
- Welding (if you have access to a small welding machine).
- Hacksaw or cutter (if necessary).
- Pipe wrench.
- Penetrating oil (such as WD-40 or similar).
- Sandpaper or metal file (optional).
Procedure:
- Apply penetrating oil:
- Apply penetrating oil (such as WD-40) to the threads of the broken nipple to loosen any corrosion or rust that may be hindering the process.
- Let it sit for at least 10-15 minutes.
- Try loosening it with a wrench or pliers:
- If part of the broken nipple is exposed enough, try loosening it with a wrench or adjustable wrench. Turn it counterclockwise.
- If the exposed part is very small, use locking pliers or gripping pliers to squeeze the nipple and twist it.
- Use of a welded screw or rod:
- If you can’t loosen it this way, a DIY option is to weld a screw or metal rod to the end of the broken nipple.
- Using a welder, weld a sturdy screw or rod to the end of the nipple to create a “handle” that allows you to turn it with a wrench.
- Be careful not to damage the main pipe when performing this operation.
- Cut off the broken nipple:
- If the nipple is completely broken or cannot be turned, use a hacksaw or cutter to cut through the middle of the nipple.
- After cutting it, you will be able to remove the two ends more easily.
- Use a thread extractor drill bit:
- In some cases, thread extractors can help you remove a broken nipple. If you have access to one of these extractors, you can drill a small hole in the center of the broken nipple and use the tool to remove it.
- Sanding the edges:
- Once the nipple has been removed, sand or file the edges of the pipe to remove any remaining thread residue and facilitate the installation of a new nipple.
This process can vary depending on how damaged the nipple is and the tools you have available, but with patience and the right tools, it is possible to remove it without needing to resort to a specialized tool.